维权提醒:如果你或身边的朋友近五年内因投顾公司虚假宣传、诱导交费导致亏损,别放弃!立即联系小羊维权(158 2783 9931,微信同号),专业团队帮你讨回公道!
本文首发:运维有术,作者术哥。
近期我在深入研究 MCP(Model Context Protocol)、大语言模型(LLM)与 Kubernetes / KubeSphere 的融合,期望为企业容器平台引入智能化运维与资源调度能力。
本文将基于最新的 KubeSphere v4.1.3 和 Kubernetes v1.32.5,手把手教大家搭建一套企业级的高可用集群。这套方案不仅确保了 Kubernetes 控制平面的高可用性,还实现了 KubeSphere 所有核心服务的多副本部署,可以作为生产环境的最佳实践参考。
实战服务器配置(架构1:1复刻小规模生产环境,只是配置略有不同)
| 节点角色 | 主机名 | CPU(核) | 内存(GB) | 系统盘(GB) | 数据盘(GB) | IP | 备注 | | :———-: | :———–: | :—–: | :——: | :——–: | :——–: | :———-: | :————–: | | Control 节点 | ksp-control-1 | 4 | 8 | 50 | 100 | 192.168.9.91 | 控制节点 | | Control 节点 | ksp-control-2 | 4 | 8 | 50 | 100 | 192.168.9.92 | 控制节点 | | Control 节点 | ksp-control-3 | 4 | 8 | 50 | 100 | 192.168.9.93 | 控制节点 | | Worker 节点 | ksp-worker-1 | 8 | 32 | 50 | 100 | 192.168.9.94 | 部署通用工作负载 | | Worker 节点 | ksp-worker-2 | 8 | 32 | 50 | 100 | 192.168.9.95 | 部署通用工作负载 | | Worker 节点 | ksp-worker-3 | 8 | 32 | 50 | 100 | 192.168.9.96 | 部署通用工作负载 | | 合计 | 6 | 36 | 120 | 300 | 600 | | |
实战环境涉及软件版本信息
- 操作系统:openEuler 24.03 LTS SP1 x86_64
- KubeSphere:v4.1.3
- Kubernetes:v1.32.5
- KubeKey: v3.1.10
- 前置条件
1.1 初始化操作系统
可选配置 ,可以参考 Kubernetes 集群节点 openEuler 22.03 LTS SP3 系统初始化指南,完成操作系统初始化配置。
如果没有挂载额外的数据盘,无需定制数据存储目录,可以选择使用 KubeKey 自动完成前置条件的安装配置。
虽然,初始化指南以 openEuler 22.03 LTS SP3 为例,但配置过程同样适用于其他 Linux 发行版,只是命令略有不同。
选配:社群成员可以使用 Ansible 脚本完成系统初始化:
# 验证节点连通性
ansible -m ping k8s

# 系统初始化
ansible-playbook ../../playbooks/init-os.yaml -l k8s

# 数据磁盘初始化(使用 LVM)
ansible-playbook ../../playbooks/init-disk-lvm.yaml -l k8s

# kubesphere/k8s 节点初始化(安装 k8s 依赖组件)
ansible-playbook ../../playbooks/deploy-ksp-nodes.yaml
- 部署 Kubernetes 集群
本文使用 KubeSphere 官方提供的集群部署工具 KubeKey,搭建一套生产级高可用 Kubernetes 集群。该集群由 3 个 Control 节点组成控制平面,确保集群管理组件的高可用性;同时配备 3 个 Worker 节点用于运行业务工作负载,实现计算资源的合理分配。这种架构设计既保证了集群的稳定性和可靠性,又提供了良好的业务负载承载能力。
在 ksp-control-1 节点上执行以下操作。该节点作为集群的主要控制节点,将用于执行集群部署和管理任务。
2.1 下载 KubeKey
- 下载最新版的 KubeKey(v3.1.10)
mkdir /srv/kubekey
cd /srv/kubekey/

# 选择中文区下载(访问 GitHub 受限时使用)
export KKZONE=cn
curl -sfL https://get-kk.kubesphere.io | sh -
- 查看 KubeKey 支持的 Kubernetes 版本列表
./kk version --show-supported-k8s
$ ./kk version --show-supported-k8s
v1.19.0
v1.19.8
v1.19.9
v1.19.15
......(受限于篇幅,中间的不展示,请读者根据需求查看)
v1.30.11
v1.30.12
v1.30.13
v1.31.0
v1.31.1
v1.31.2
v1.31.3
v1.31.4
v1.31.5
v1.31.6
v1.31.7
v1.31.8
v1.31.9
v1.32.0
v1.32.1
v1.32.2
v1.32.3
v1.32.4
v1.32.5
v1.33.0
v1.33.1
KubeKey 支持的 Kubernetes 版本非常丰富且及时更新。本文选择最新稳定版 v1.32.5。对于生产环境,建议选择:
- 次要版本号为双数的版本(如 v1.30.x、v1.32.x)
- 补丁版本号不低于 5 的版本(如 v1.30.13、v1.32.5)
- 避免使用太旧的版本,建议选择最近 2-3 个次要版本
- 可以优先考虑 v1.30.13 或 v1.32.5 这类经过充分验证的版本
选择版本时需要平衡新特性和稳定性,既要确保关键功能可用,又要避免可能的兼容性问题。
2.2 创建 Kubernetes 集群部署配置
- 创建集群配置文件
本文选择了 v1.32.5 版本的 Kubernetes。为了便于后续管理和维护,我们将配置文件命名为 ksp-k8s-v1325.yaml ,这个命名方式清晰地表明了所使用的 Kubernetes 版本。如果不指定配置文件名称,KubeKey 会使用默认的文件名 config-sample.yaml。
./kk create config -f ksp-k8s-v1325.yaml --with-kubernetes v1.32.5
重要提示:
请妥善保管安装配置文件 ksp-k8s-v1325.yaml。该文件对于后续的集群维护工作(如节点扩容、集群卸载等)至关重要。如果文件丢失,您将需要重新创建配置文件,这可能会带来额外的工作量。
配置文件包含大量可配置选项。如需了解全部配置参数及其用法,请查阅官方文档中的 KubeKey 配置示例。这将帮助您更好地定制集群配置。
- 修改配置文件
本示例采用 6 节点高可用部署架构,其中:
- 3 个 Control 节点: 部署 control-plane 和 etcd 组件
- 3 个 Worker 节点: 部署业务工作负载
请使用 vi 编辑器,编辑配置文件 ksp-k8s-v1325.yaml,修改 kind: Cluster 小节中的以下配置项:
- hosts:指定节点的 IP、ssh 用户、ssh 密码
- roleGroups:分别设置etcd、control-plane、worker 节点对应的 hosts 名称
- internalLoadbalancer: 启用内置的 HAProxy 负载均衡器
- domain:自定义域名 lb.opsxlabs.cn ,没特殊需求可使用默认值 lb.kubesphere.local
- clusterName:自定义 opsxlabs.cn ,没特殊需求可使用默认值 cluster.local
- autoRenewCerts:该参数可以实现证书到期自动续期,默认为 true
- containerManager:容器运行时使用 containerd
- storage.openebs.basePath:默认没有,新增配置 ,指定 openebs 默认存储路径为 /data/openebs/local
- registry.privateRegistry:可选配置, 解决 Docker 官方镜像不可用的问题
- registry.namespaceOverride: 可选配置, 解决 Docker 官方镜像不可用的问题
下面是完整的配置示例,请根据实际环境修改相关配置:
apiVersion: kubekey.kubesphere.io/v1alpha2
kind: Cluster
metadata:
  name: opsxlabs
spec:
  hosts:
  - {name: ksp-control-1, address: 192.168.9.91, internalAddress: 192.168.9.91, user: root, password: "OpsXlab2025!"}
  - {name: ksp-control-2, address: 192.168.9.92, internalAddress: 192.168.9.92, user: root, password: "OpsXlab2025!"}
  - {name: ksp-control-3, address: 192.168.9.93, internalAddress: 192.168.9.93, user: root, password: "OpsXlab2025!"}
  - {name: ksp-worker-1, address: 192.168.9.94, internalAddress: 192.168.9.94, user: root, password: "OpsXlab2025!"}
  - {name: ksp-worker-2, address: 192.168.9.95, internalAddress: 192.168.9.95, user: root, password: "OpsXlab2025!"}
  - {name: ksp-worker-3, address: 192.168.9.96, internalAddress: 192.168.9.96, user: root, password: "OpsXlab2025!"}
  roleGroups:
    etcd:
    - ksp-control-1
    - ksp-control-2
    - ksp-control-3
    control-plane:
    - ksp-control-1
    - ksp-control-2
    - ksp-control-3
    worker:
    - ksp-worker-1
    - ksp-worker-2
    - ksp-worker-3
  controlPlaneEndpoint:
    ## Internal loadbalancer for apiservers
    internalLoadbalancer: haproxy

    domain: lb.opsxlabs.cn
    address: ""
    port: 6443
  kubernetes:
    version: v1.32.5
    clusterName: opsxlabs.cn
    #dnsDomain: opsxlabs.cn
    autoRenewCerts: true
    containerManager: containerd
  etcd:
    type: kubekey
  network:
    plugin: calico
    kubePodsCIDR: 10.233.64.0/18
    kubeServiceCIDR: 10.233.0.0/18
    ## multus support. https://github.com/k8snetworkplumbingwg/multus-cni
    multusCNI:
      enabled: false
  storage:
    openebs:
      basePath: /data/openebs/local # 默认没有的新增配置,base path of the local PV
  registry:
    privateRegistry: "registry.cn-beijing.aliyuncs.com" #使用 KubeSphere 在阿里云的镜像仓库
    namespaceOverride: "kubesphereio"
    registryMirrors: []
    insecureRegistries: []
  addons: []
2.3 部署 Kubernetes 集群
现在我们使用上面生成的配置文件来创建 Kubernetes 集群。执行以下命令开始部署:
export KKZONE=cn
./kk create cluster -f ksp-k8s-v1325.yaml --with-local-storage
重要说明:
- 本文使用 OpenEBS LocalPV 作为默认存储解决方案,需要在命令中添加
--with-local-storage参数启用本地存储功能- 该参数会自动部署 OpenEBS LocalPV 相关组件,简化存储配置流程
执行命令后,KubeKey 会首先进行环境依赖检查,确保满足部署 Kubernetes 的所有要求。检查通过后,系统会要求确认安装,输入 yes 并按 Enter 键继续部署流程。
$ ./kk create cluster -f ksp-k8s-v1325.yaml --with-local-storage

 _   __      _          _   __
| | / /     | |        | | / /
| |/ / _   _| |__   ___| |/ /  ___ _   _
|    \| | | | '_ \ / _ \    \ / _ \ | | |
| |\  \ |_| | |_) |  __/ |\  \  __/ |_| |
\_| \_/\__,_|_.__/ \___\_| \_/\___|\__, |
                                    __/ |
                                   |___/

09:26:42 CST [GreetingsModule] Greetings
09:26:42 CST message: [ksp-worker-3]
Greetings, KubeKey!
09:26:43 CST message: [ksp-control-3]
Greetings, KubeKey!
09:26:43 CST message: [ksp-control-1]
Greetings, KubeKey!
09:26:43 CST message: [ksp-control-2]
Greetings, KubeKey!
09:26:44 CST message: [ksp-worker-1]
Greetings, KubeKey!
09:26:44 CST message: [ksp-worker-2]
Greetings, KubeKey!
09:26:44 CST success: [ksp-worker-3]
09:26:44 CST success: [ksp-control-3]
09:26:44 CST success: [ksp-control-1]
09:26:44 CST success: [ksp-control-2]
09:26:44 CST success: [ksp-worker-1]
09:26:44 CST success: [ksp-worker-2]
09:26:44 CST [NodePreCheckModule] A pre-check on nodes
09:26:48 CST success: [ksp-control-1]
09:26:48 CST success: [ksp-control-2]
09:26:48 CST success: [ksp-worker-1]
09:26:48 CST success: [ksp-worker-2]
09:26:48 CST success: [ksp-worker-3]
09:26:48 CST success: [ksp-control-3]
09:26:48 CST [ConfirmModule] Display confirmation form
+---------------+------+------+---------+----------+-------+-------+---------+-----------+--------+--------+------------+------------+-------------+------------------+--------------+
| name          | sudo | curl | openssl | ebtables | socat | ipset | ipvsadm | conntrack | chrony | docker | containerd | nfs client | ceph client | glusterfs client | time         |
+---------------+------+------+---------+----------+-------+-------+---------+-----------+--------+--------+------------+------------+-------------+------------------+--------------+
| ksp-control-1 | y    | y    | y       | y        | y     | y     | y       | y         | y      |        |            |            |             |                  | CST 09:26:47 |
| ksp-control-2 | y    | y    | y       | y        | y     | y     | y       | y         | y      |        |            |            |             |                  | CST 09:26:48 |
| ksp-control-3 | y    | y    | y       | y        | y     | y     | y       | y         | y      |        |            |            |             |                  | CST 09:26:48 |
| ksp-worker-1  | y    | y    | y       | y        | y     | y     | y       | y         | y      |        |            |            |             |                  | CST 09:26:48 |
| ksp-worker-2  | y    | y    | y       | y        | y     | y     | y       | y         | y      |        |            |            |             |                  | CST 09:26:48 |
| ksp-worker-3  | y    | y    | y       | y        | y     | y     | y       | y         | y      |        |            |            |             |                  | CST 09:26:48 |
+---------------+------+------+---------+----------+-------+-------+---------+-----------+--------+--------+------------+------------+-------------+------------------+--------------+

This is a simple check of your environment.
Before installation, ensure that your machines meet all requirements specified at
https://github.com/kubesphere/kubekey#requirements-and-recommendations

Install k8s with specify version:  v1.32.5

Continue this installation? [yes/no]: yes
重要说明:
- 系统检查显示 nfs-client、ceph-client、glusterfs-client 等存储客户端组件未安装。这些组件将在后续存储系统对接实战中单独安装配置
- 容器运行时(docker/containerd)将根据配置文件中 containerManager 参数自动选择安装
整个部署过程预计需要 5-10 分钟完成。具体耗时取决于:
- 网络带宽状况
- 服务器硬件配置
- 集群节点数量
本次实战环境部署耗时 7 分钟。
当终端显示以下信息时,表示 Kubernetes 集群已成功创建并完成初始化:
09:33:26 CST Pipeline[CreateClusterPipeline] execute successfully
Installation is complete.

Please check the result using the command:

        kubectl get pod -A
- 验证 k8s 集群状态
3.1 查看集群节点信息
在控制节点1运行 kubectl 命令获取 Kubernetes 集群上的可用节点列表。
kubectl get nodes -o wide
在输出结果中可以看到,当前的 Kubernetes 集群有 6 个可用节点(3 个 Control 节点和 3 个 Worker 节点)。每个节点的详细信息包括:
- 节点角色(control-plane/worker)
- Kubernetes 版本(v1.32.5)
- 节点内部 IP 地址
- 操作系统类型(openEuler 24.03 LTS-SP1)
- Linux 内核版本
- 容器运行时类型及版本(containerd v1.7.13)
所有节点状态均为 Ready,表明集群已经成功部署并正常运行。
$ kubectl get nodes -o wide
NAME            STATUS   ROLES           AGE   VERSION   INTERNAL-IP    EXTERNAL-IP   OS-IMAGE                    KERNEL-VERSION                     CONTAINER-RUNTIME
ksp-control-1   Ready    control-plane   69s   v1.32.5   192.168.9.91   <none>        openEuler 24.03 (LTS-SP1)   6.6.0-72.0.0.76.oe2403sp1.x86_64   containerd://1.7.13
ksp-control-2   Ready    control-plane   46s   v1.32.5   192.168.9.92   <none>        openEuler 24.03 (LTS-SP1)   6.6.0-72.0.0.76.oe2403sp1.x86_64   containerd://1.7.13
ksp-control-3   Ready    control-plane   45s   v1.32.5   192.168.9.93   <none>        openEuler 24.03 (LTS-SP1)   6.6.0-72.0.0.76.oe2403sp1.x86_64   containerd://1.7.13
ksp-worker-1    Ready    worker          41s   v1.32.5   192.168.9.94   <none>        openEuler 24.03 (LTS-SP1)   6.6.0-72.0.0.76.oe2403sp1.x86_64   containerd://1.7.13
ksp-worker-2    Ready    worker          42s   v1.32.5   192.168.9.95   <none>        openEuler 24.03 (LTS-SP1)   6.6.0-72.0.0.76.oe2403sp1.x86_64   containerd://1.7.13
ksp-worker-3    Ready    worker          42s   v1.32.5   192.168.9.96   <none>        openEuler 24.03 (LTS-SP1)   6.6.0-72.0.0.76.oe2403sp1.x86_64   containerd://1.7.13
3.2 查看 Pod 信息
使用以下命令查看集群中所有命名空间的 Pod 运行状态和详细信息。
kubectl get pods -A -o wide
输出结果符合预期, 所有 Pod 的状态都是 Running。
[root@ksp-control-1 kubekey]# kubectl get pods -A -o wide
NAMESPACE     NAME                                          READY   STATUS    RESTARTS   AGE   IP             NODE            NOMINATED NODE   READINESS GATES
kube-system   calico-kube-controllers-678fc69664-6hr2k      1/1     Running   0          38s   10.233.96.3    ksp-worker-3    <none>           <none>
kube-system   calico-node-4nnxh                             1/1     Running   0          38s   192.168.9.95   ksp-worker-2    <none>           <none>
kube-system   calico-node-ch5q7                             1/1     Running   0          38s   192.168.9.93   ksp-control-3   <none>           <none>
kube-system   calico-node-d94p9                             1/1     Running   0          38s   192.168.9.92   ksp-control-2   <none>           <none>
kube-system   calico-node-g8fl5                             1/1     Running   0          38s   192.168.9.96   ksp-worker-3    <none>           <none>
kube-system   calico-node-jnhzw                             1/1     Running   0          38s   192.168.9.91   ksp-control-1   <none>           <none>
kube-system   calico-node-kjs7j                             1/1     Running   0          38s   192.168.9.94   ksp-worker-1    <none>           <none>
kube-system   coredns-5c68fb7f85-46pj8                      1/1     Running   0          18s   10.233.101.1   ksp-control-3   <none>           <none>
kube-system   coredns-5c68fb7f85-thqvq                      1/1     Running   0          75s   10.233.96.2    ksp-worker-3    <none>           <none>
kube-system   haproxy-ksp-worker-1                          1/1     Running   0          50s   192.168.9.94   ksp-worker-1    <none>           <none>
kube-system   haproxy-ksp-worker-2                          1/1     Running   0          50s   192.168.9.95   ksp-worker-2    <none>           <none>
kube-system   haproxy-ksp-worker-3                          1/1     Running   0          50s   192.168.9.96   ksp-worker-3    <none>           <none>
kube-system   kube-apiserver-ksp-control-1                  1/1     Running   0          82s   192.168.9.91   ksp-control-1   <none>           <none>
kube-system   kube-apiserver-ksp-control-2                  1/1     Running   0          60s   192.168.9.92   ksp-control-2   <none>           <none>
kube-system   kube-apiserver-ksp-control-3                  1/1     Running   0          59s   192.168.9.93   ksp-control-3   <none>           <none>
kube-system   kube-controller-manager-ksp-control-1         1/1     Running   0          81s   192.168.9.91   ksp-control-1   <none>           <none>
kube-system   kube-controller-manager-ksp-control-2         1/1     Running   0          60s   192.168.9.92   ksp-control-2   <none>           <none>
kube-system   kube-controller-manager-ksp-control-3         1/1     Running   0          59s   192.168.9.93   ksp-control-3   <none>           <none>
kube-system   kube-proxy-7524z                              1/1     Running   0          46s   192.168.9.94   ksp-worker-1    <none>           <none>
kube-system   kube-proxy-8dscp                              1/1     Running   0          47s   192.168.9.95   ksp-worker-2    <none>           <none>
kube-system   kube-proxy-b6rk5                              1/1     Running   0          46s   192.168.9.92   ksp-control-2   <none>           <none>
kube-system   kube-proxy-bvkd6                              1/1     Running   0          45s   192.168.9.96   ksp-worker-3    <none>           <none>
kube-system   kube-proxy-ns5rs                              1/1     Running   0          45s   192.168.9.93   ksp-control-3   <none>           <none>
kube-system   kube-proxy-rhkhd                              1/1     Running   0          46s   192.168.9.91   ksp-control-1   <none>           <none>
kube-system   kube-scheduler-ksp-control-1                  1/1     Running   0          80s   192.168.9.91   ksp-control-1   <none>           <none>
kube-system   kube-scheduler-ksp-control-2                  1/1     Running   0          60s   192.168.9.92   ksp-control-2   <none>           <none>
kube-system   kube-scheduler-ksp-control-3                  1/1     Running   0          59s   192.168.9.93   ksp-control-3   <none>           <none>
kube-system   nodelocaldns-7blvp                            1/1     Running   0          60s   192.168.9.93   ksp-control-3   <none>           <none>
kube-system   nodelocaldns-7vdm7                            1/1     Running   0          72s   192.168.9.91   ksp-control-1   <none>           <none>
kube-system   nodelocaldns-gtw74                            1/1     Running   0          57s   192.168.9.95   ksp-worker-2    <none>           <none>
kube-system   nodelocaldns-l29sv                            1/1     Running   0          61s   192.168.9.92   ksp-control-2   <none>           <none>
kube-system   nodelocaldns-rl9c8                            1/1     Running   0          56s   192.168.9.96   ksp-worker-3    <none>           <none>
kube-system   nodelocaldns-xctwp                            1/1     Running   0          56s   192.168.9.94   ksp-worker-1    <none>           <none>
kube-system   openebs-localpv-provisioner-9644bcfd5-rvgqz   1/1     Running   0          29s   10.233.94.1    ksp-worker-1    <none>           <none>
3.3 查看 Image 列表
- 使用 crictl 命令查看 Control 节点上已经下载的容器镜像列表,可以看到所有核心组件的镜像都已经成功拉取
[root@ksp-control-1 ~]# crictl image ls
IMAGE                                                                   TAG                 IMAGE ID            SIZE
registry.cn-beijing.aliyuncs.com/kubesphereio/cni                       v3.27.4             dc6f84c32585f       88.8MB
registry.cn-beijing.aliyuncs.com/kubesphereio/coredns                   1.9.3               5185b96f0becf       14.8MB
registry.cn-beijing.aliyuncs.com/kubesphereio/k8s-dns-node-cache        1.22.20             ff71cd4ea5ae5       30.5MB
registry.cn-beijing.aliyuncs.com/kubesphereio/kube-apiserver            v1.32.5             495c5ce47cf7c       28.8MB
registry.cn-beijing.aliyuncs.com/kubesphereio/kube-controller-manager   v1.32.5             85dcaf69f0001       26.4MB
registry.cn-beijing.aliyuncs.com/kubesphereio/kube-controllers          v3.27.4             6b1e38763f401       33.5MB
registry.cn-beijing.aliyuncs.com/kubesphereio/kube-proxy                v1.32.5             f532b7356fac4       30.9MB
registry.cn-beijing.aliyuncs.com/kubesphereio/kube-scheduler            v1.32.5             2729fb488407e       20.8MB
registry.cn-beijing.aliyuncs.com/kubesphereio/node                      v3.27.4             3dd4390f2a85a       117MB
registry.cn-beijing.aliyuncs.com/kubesphereio/pause                     3.10                873ed75102791       320kB
registry.cn-beijing.aliyuncs.com/kubesphereio/pause                     3.9                 e6f1816883972       322kB
registry.cn-beijing.aliyuncs.com/kubesphereio/pod2daemon-flexvol        v3.27.4             72bfa61e35b35       7.64MB
- 查看 Worker 节点上已经下载的 Image 列表
[root@ksp-worker-1 ~]# crictl images ls
IMAGE                                                               TAG                 IMAGE ID            SIZE
registry.cn-beijing.aliyuncs.com/kubesphereio/cni                   v3.27.4             dc6f84c32585f       88.8MB
registry.cn-beijing.aliyuncs.com/kubesphereio/coredns               1.9.3               5185b96f0becf       14.8MB
registry.cn-beijing.aliyuncs.com/kubesphereio/haproxy               2.9.6-alpine        52687313354fc       12.3MB
registry.cn-beijing.aliyuncs.com/kubesphereio/k8s-dns-node-cache    1.22.20             ff71cd4ea5ae5       30.5MB
registry.cn-beijing.aliyuncs.com/kubesphereio/kube-controllers      v3.27.4             6b1e38763f401       33.5MB
registry.cn-beijing.aliyuncs.com/kubesphereio/kube-proxy            v1.32.5             f532b7356fac4       30.9MB
registry.cn-beijing.aliyuncs.com/kubesphereio/node                  v3.27.4             3dd4390f2a85a       117MB
registry.cn-beijing.aliyuncs.com/kubesphereio/pause                 3.9                 e6f1816883972       322kB
registry.cn-beijing.aliyuncs.com/kubesphereio/pod2daemon-flexvol    v3.27.4             72bfa61e35b35       7.64MB
registry.cn-beijing.aliyuncs.com/kubesphereio/provisioner-localpv   3.3.0               739e82fed8b2c       28.8MB
至此,我们已经成功完成了一个生产级高可用 Kubernetes 集群的部署。该集群由 3 台 Control 节点组成的控制平面和 3 台 Worker 节点组成的工作负载平面构成,不仅确保了集群管理组件的高可用性,也为业务应用提供了可靠的运行环境。
- 部署 KubeSphere
完成 Kubernetes 集群部署后,我们将通过 Helm 安装 KubeSphere v4.1.3,为集群提供强大的可视化管理能力。
4.1 安装核心组件 KubeSphere Core
使用 Helm 安装 KubeSphere 的核心组件 KubeSphere Core。KubeSphere Core 是 KubeSphere 的基础组件,提供了用户认证、多租户管理、RBAC 等核心功能。
说明:
- KubeKey 部署 Kubernetes 集群时会自动安装 Helm,无需手动安装
- 建议使用最新版本的 KubeSphere Core Chart,本文使用的是 v1.1.4 版本
helm upgrade --install -n kubesphere-system --create-namespace ks-core https://charts.kubesphere.io/main/ks-core-1.1.4.tgz \
     --set global.imageRegistry=swr.cn-southwest-2.myhuaweicloud.com/ks \
     --set extension.imageRegistry=swr.cn-southwest-2.myhuaweicloud.com/ks \
     --set ha.enabled=true \
     --set redisHA.enabled=true \
     --set multicluster.hostClusterName=opsxlabs-main \
     --debug \
     --wait
重要配置说明:
ha.enabled: 设置为 true,启用 KubeSphere 组件高可用部署
redisHA.enabled: 设置为 true,启用 Redis 高可用集群
multicluster.hostClusterName: 自定义主集群名称,默认为 host。版本兼容性提示: ks-core-1.1.4 之前版本使用hostClusterName
imageRegistry: 指定组件镜像仓库国内镜像源地址
部署过程预计需要 5-10 分钟完成,具体取决于:
- 网络带宽状况
- 服务器配置
- Redis HA 集群初始化时间(占比较大)
当安装命令执行完成后,系统将输出 KubeSphere 控制台访问信息,包括:
- Web 控制台访问地址
- 默认管理员账号
- 默认管理员密码
看到以下信息表明 KubeSphere Core 已成功完成部署。
NOTES:
Thank you for choosing KubeSphere Helm Chart.

Please be patient and wait for several seconds for the KubeSphere deployment to complete.

1. Wait for Deployment Completion

    Confirm that all KubeSphere components are running by executing the following command:

    kubectl get pods -n kubesphere-system
2. Access the KubeSphere Console

    Once the deployment is complete, you can access the KubeSphere console using the following URL:

    http://192.168.9.161:30880

3. Login to KubeSphere Console

    Use the following credentials to log in:

    Account: admin
    Password: P@88w0rd

NOTE: It is highly recommended to change the default password immediately after the first login.
For additional information and details, please visit https://kubesphere.io.
4.2 命令行验证 KubeSphere Core 状态
查看 Pod 列表:
kubectl get pods -n kubesphere-system -o wide
正确执行后,输出结果如下 :
$ kubectl get pods -n kubesphere-system -o wide
NAME                                       READY   STATUS    RESTARTS        AGE     IP              NODE            NOMINATED NODE   READINESS GATES
extensions-museum-67bf6499df-f5xf4         1/1     Running   0               3m18s   10.233.68.15    ksp-worker-2    <none>           <none>
ks-apiserver-677647f489-rq6qb              1/1     Running   2 (3m13s ago)   3m18s   10.233.101.19   ksp-control-3   <none>           <none>
ks-apiserver-677647f489-w6bw2              1/1     Running   2 (3m13s ago)   3m18s   10.233.71.18    ksp-control-2   <none>           <none>
ks-apiserver-677647f489-wpjm4              1/1     Running   2 (3m12s ago)   3m18s   10.233.93.22    ksp-control-1   <none>           <none>
ks-console-5855b59f77-6fv9f                1/1     Running   0               2m42s   10.233.68.16    ksp-worker-2    <none>           <none>
ks-console-5855b59f77-8x76h                1/1     Running   0               2m38s   10.233.94.7     ksp-worker-1    <none>           <none>
ks-console-5855b59f77-9pzhg                1/1     Running   0               2m36s   10.233.71.20    ksp-control-2   <none>           <none>
ks-controller-manager-86b4b4cf8-qlk48      1/1     Running   0               3m18s   10.233.101.18   ksp-control-3   <none>           <none>
ks-controller-manager-86b4b4cf8-xhwsr      1/1     Running   0               3m18s   10.233.71.16    ksp-control-2   <none>           <none>
ks-controller-manager-86b4b4cf8-ztwv4      1/1     Running   0               3m18s   10.233.93.19    ksp-control-1   <none>           <none>
ks-core-redisha-haproxy-5d48d7cc88-5p7zw   1/1     Running   0               3m18s   10.233.71.17    ksp-control-2   <none>           <none>
ks-core-redisha-haproxy-5d48d7cc88-92td4   1/1     Running   0               3m18s   10.233.93.20    ksp-control-1   <none>           <none>
ks-core-redisha-haproxy-5d48d7cc88-drqrf   1/1     Running   0               3m18s   10.233.101.17   ksp-control-3   <none>           <none>
ks-core-redisha-server-0                   3/3     Running   0               3m18s   10.233.93.23    ksp-control-1   <none>           <none>
ks-core-redisha-server-1                   3/3     Running   0               2m9s    10.233.71.21    ksp-control-2   <none>           <none>
ks-core-redisha-server-2                   3/3     Running   0               80s     10.233.101.21   ksp-control-3   <none>           <none>
分析 Pod 列表中的核心组件分布情况。
KubeSphere 核心组件高可用部署:
- ks-apiserver、ks-console、ks-controller-manager 各部署了3个实例
- 这些实例分布在不同节点上,确保了控制组件的高可用性
Redis 集群高可用部署:
- redisha-haproxy 和 redisha-server 各部署了3个实例
- 实例分布在不同节点上,实现了 Redis 服务的高可用性
- KubeSphere 控制台概览
5.1 工作台
我们打开浏览器访问 Control-1 节点的 IP 地址和端口 30880,可以打开熟悉的 KubeSphere 管理控制台的登录页面。
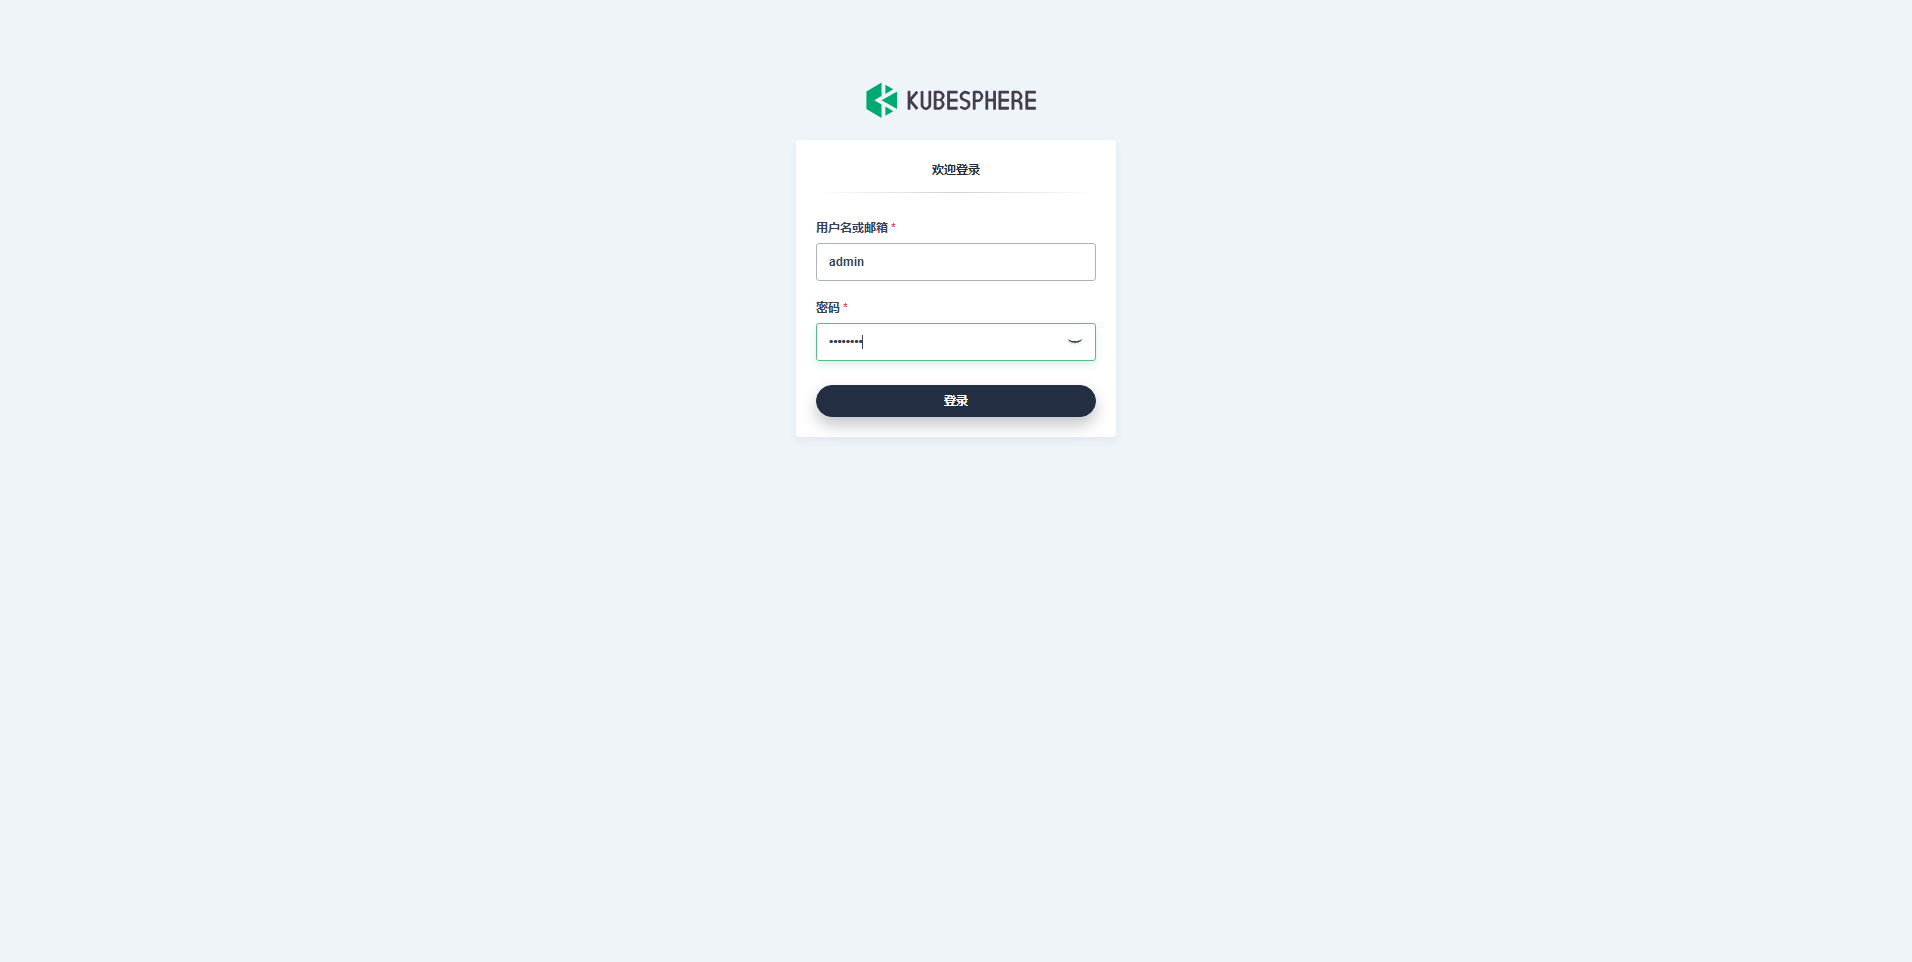
输入默认用户 admin 和默认密码 P@88w0rd,然后点击「登录」。
登录后,系统会要求您更改 KubeSphere 默认用户 admin 的默认密码,输入新的密码并点击「提交」。
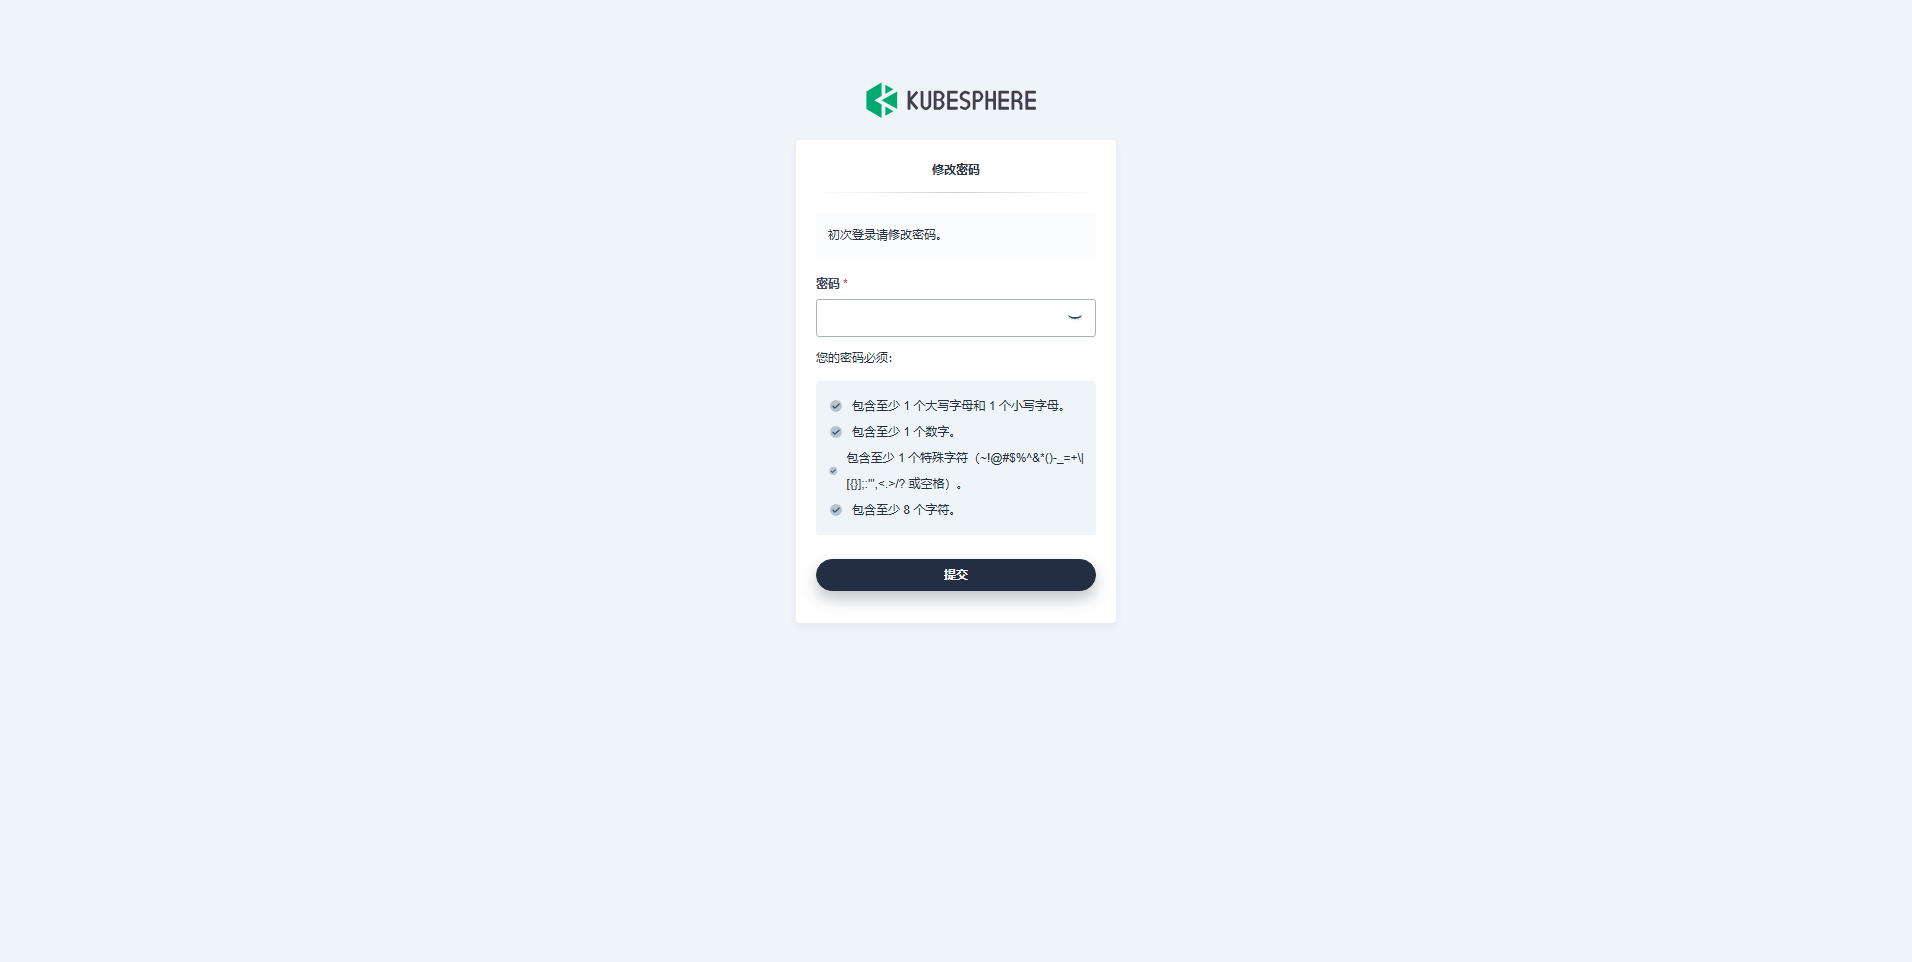
提交完成后,系统会跳转到新的风格的 KubeSphere 用户工作台页面。
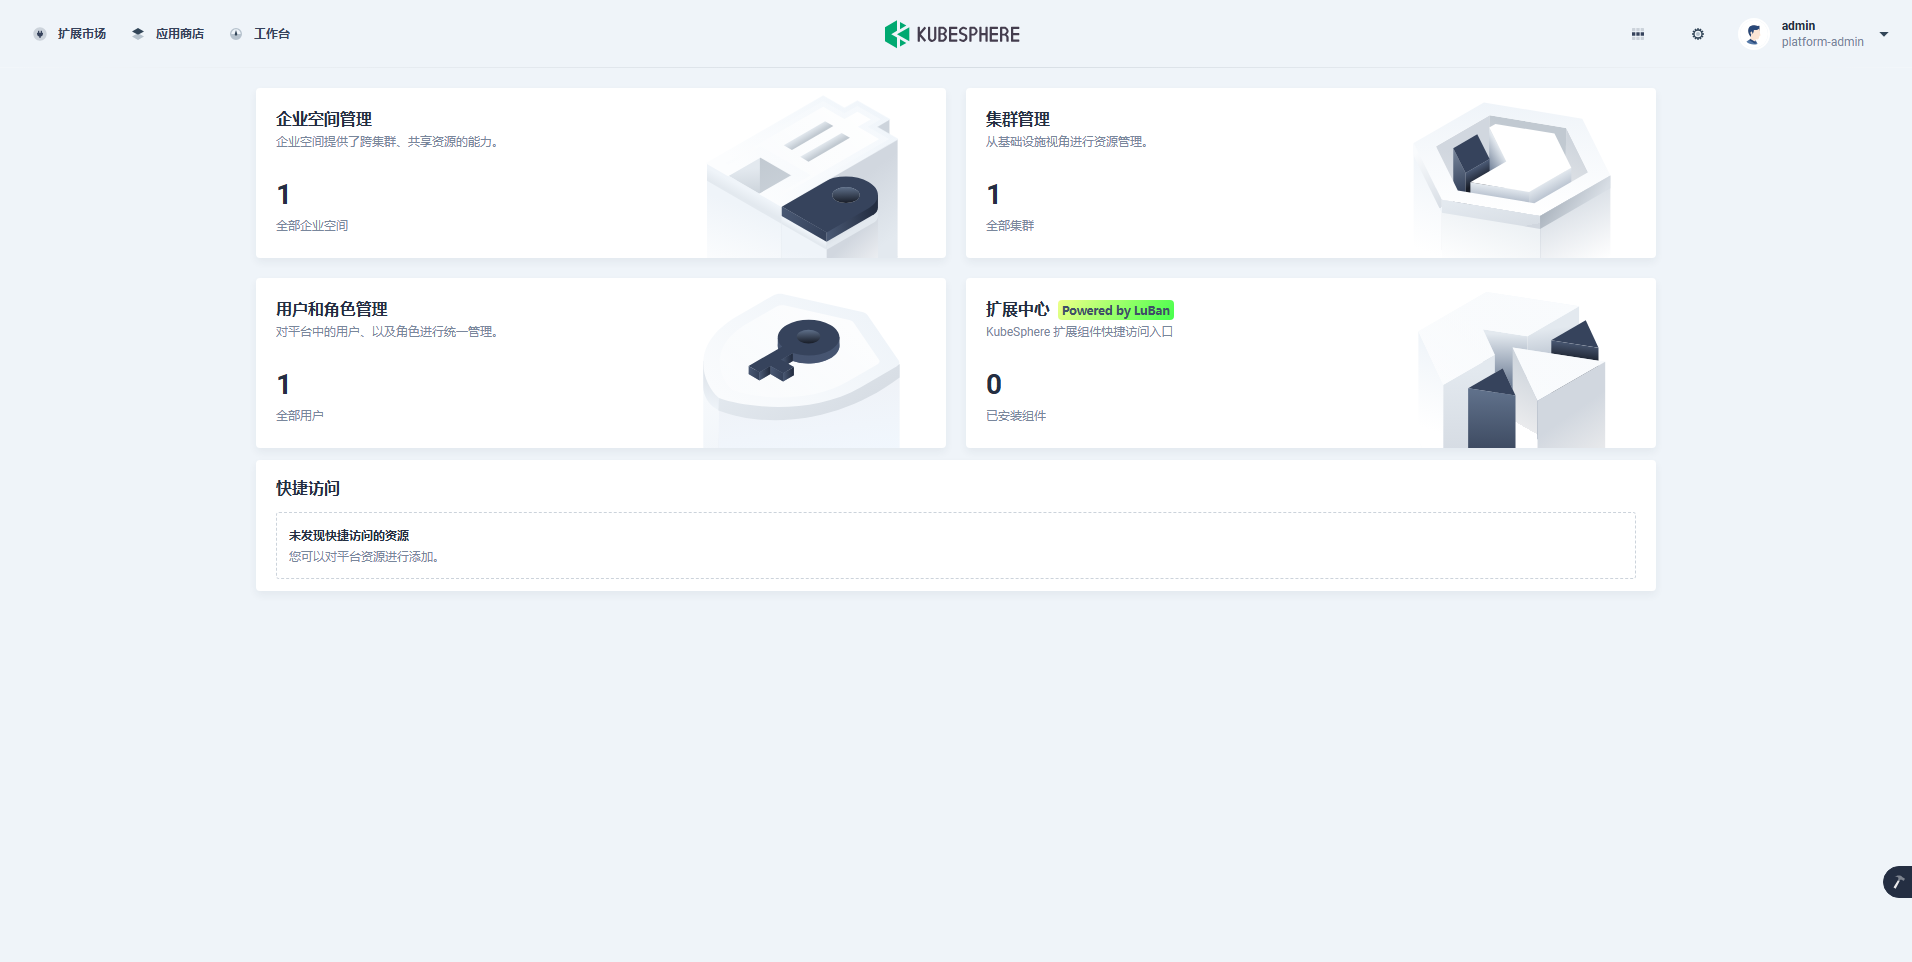
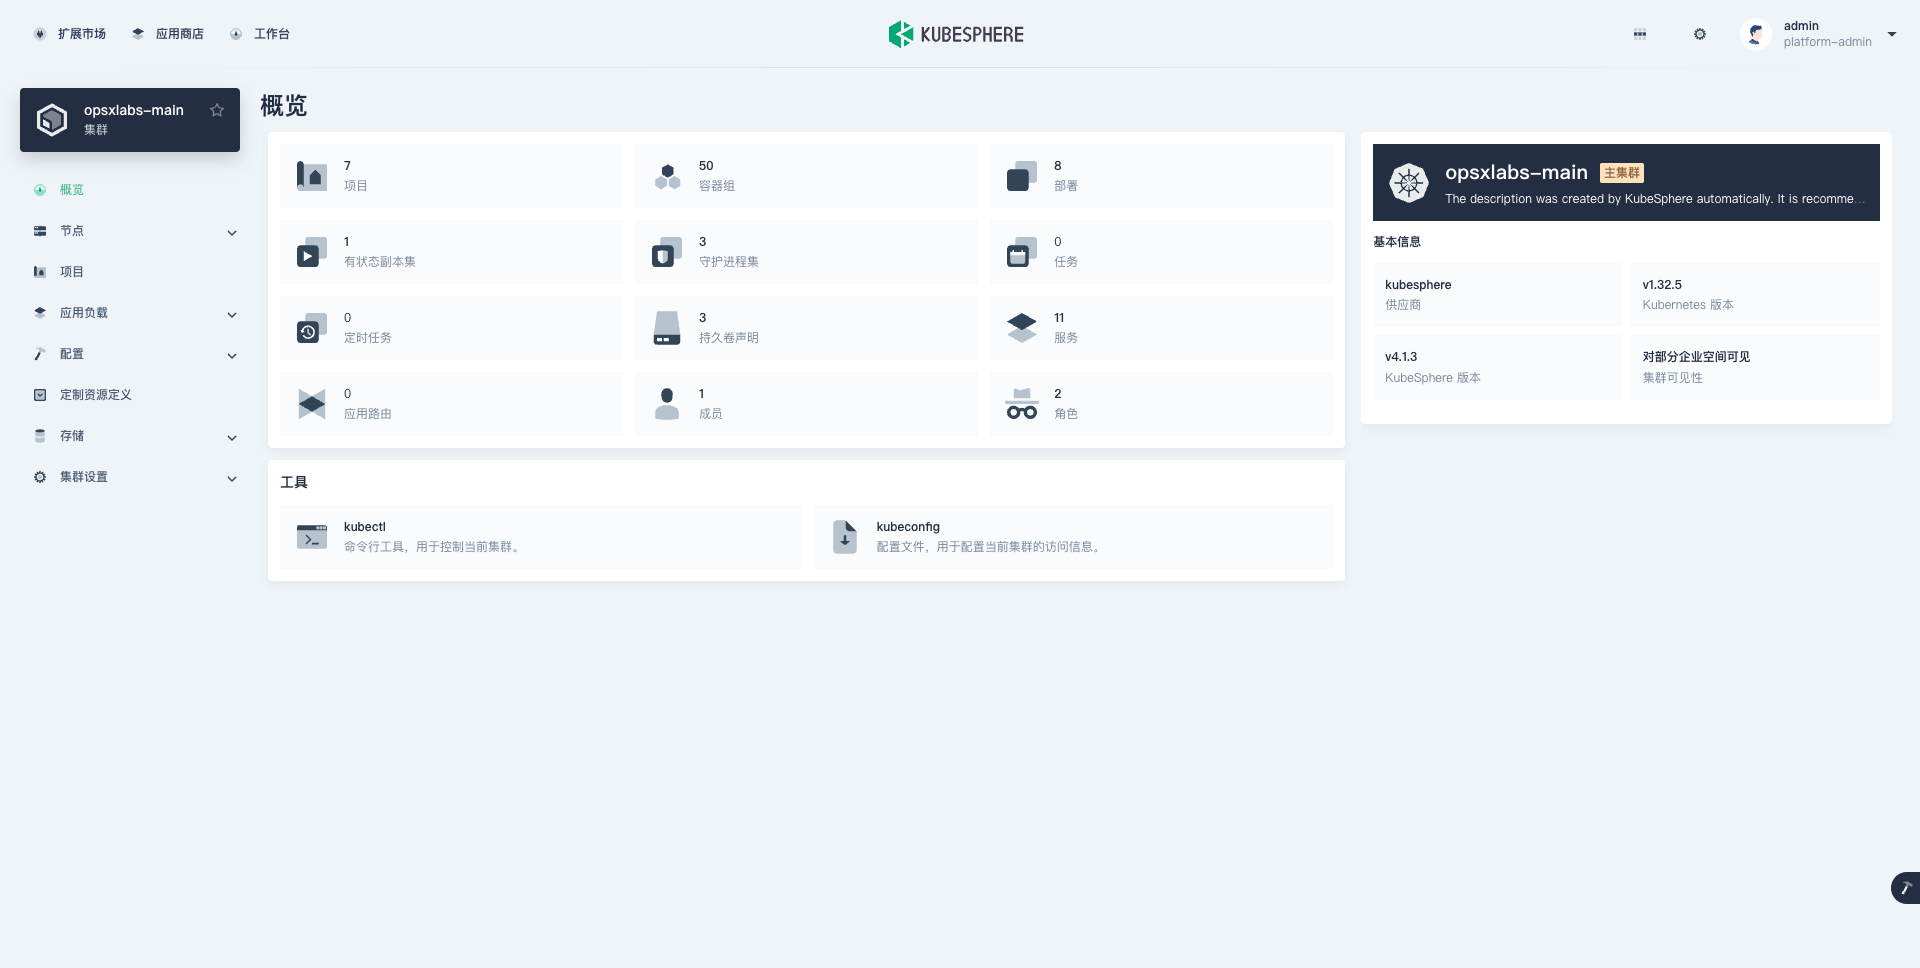
5.2 集群管理
在「工作台」页面,点击「集群管理」,进入集群管理页面,页面风格更方便多集群管理。
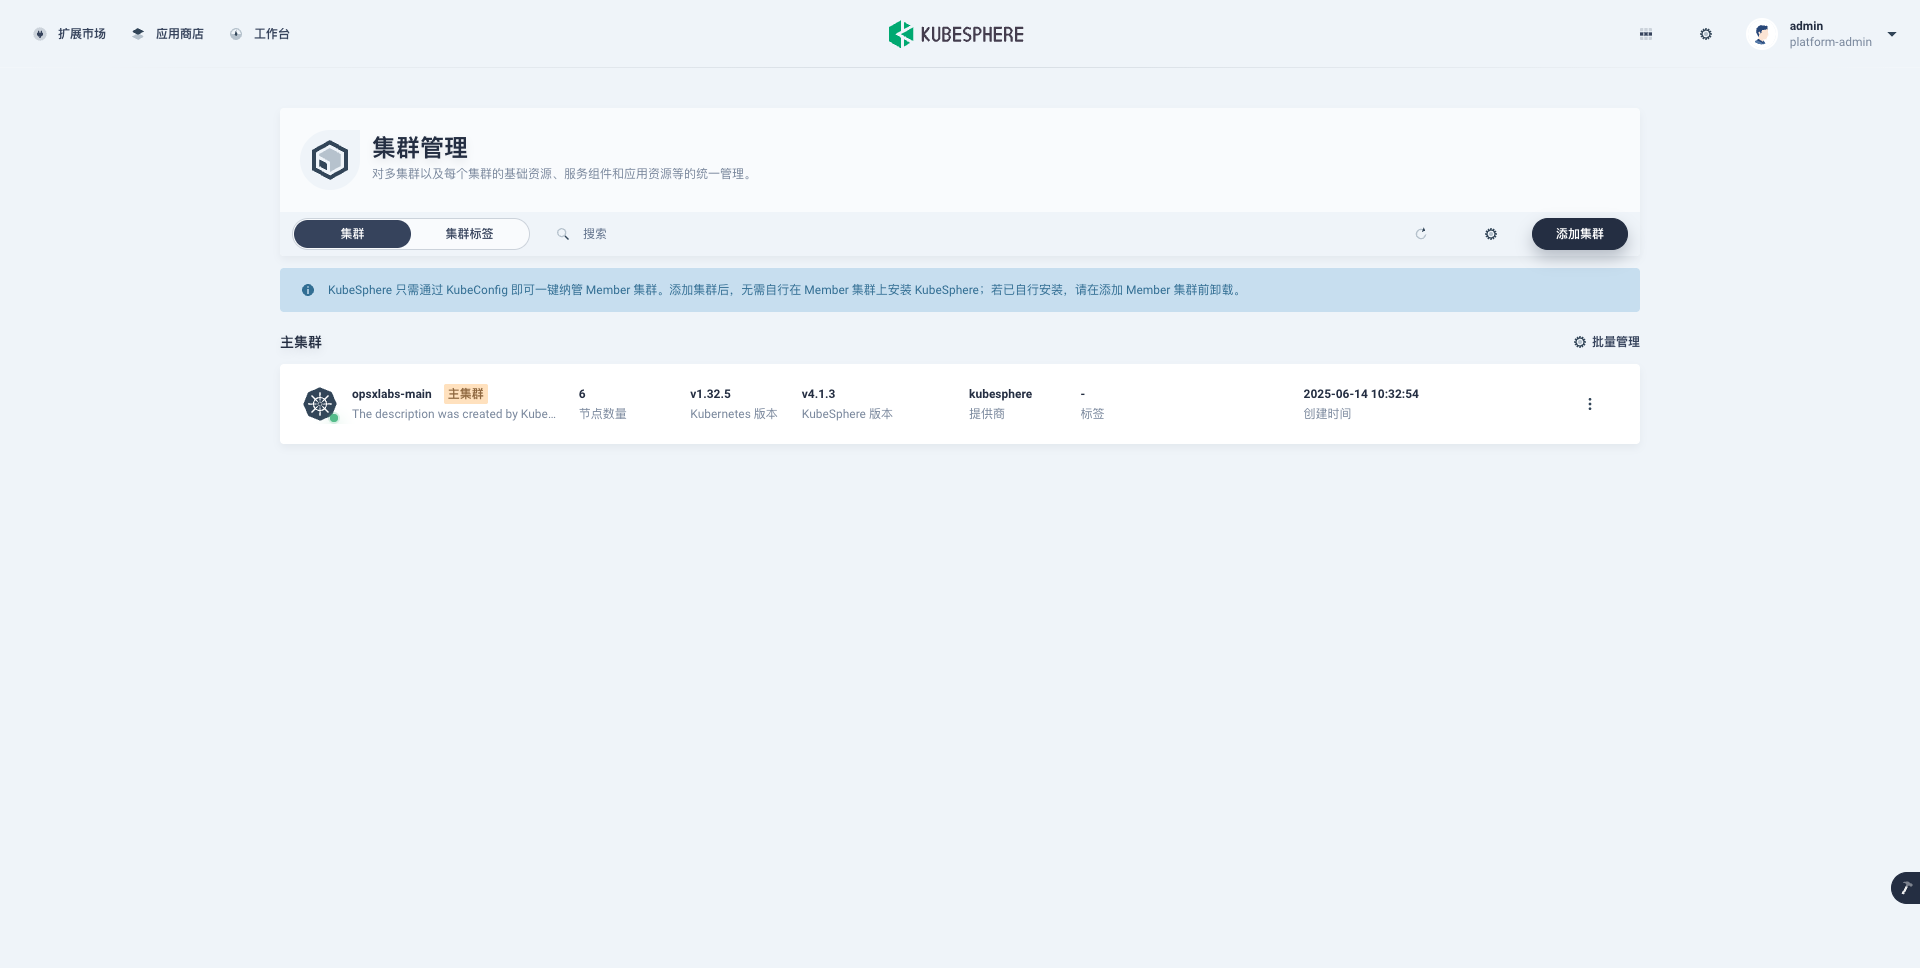
注意! 集群名称符合 我们自定义的 opsxlabs-main ,默认名称 host 。
点击「opsxlabs-main 」主集群,进入集群管理页面。新版本的集群管理菜单更加简洁,默认只有基本的 K8s 管理功能。
以上,就是我今天分享的全部内容。 本次实战,我们聚焦于 KubeSphere v4.1.3 高可用集群的部署。从环境准备到 KubeKey 的配置与执行,我们详细梳理了在生产环境中搭建稳定 Kubernetes 集群的关键步骤。通过 3 个 Control 节点和 3 个 Worker 节点的部署实践,我们验证了 KubeKey 在简化复杂集群部署方面的强大能力,并强调了配置细节对集群稳定性的重要影响。
我知道,对于很多朋友来说,搭建一套生产级的高可用集群,听起来可能有些望而却步。但通过这篇实战,你是否发现,只要掌握了正确的方法和工具,这一切并非遥不可及?我们不仅搭建了一个由 3 个 Control 节点和 3 个 Worker 节点组成的强大集群,更深入了解了 KubeKey 如何简化部署流程,以及如何通过精细配置确保集群的稳定与高效。
当然,这仅仅是个开始!KubeSphere 的魅力远不止于此。在接下来的系列文章中,我将继续带你深入探索 KubeSphere 的更多高级特性,比如如何无缝对接各种存储方案,如何玩转多集群管理,以及如何利用 KubeSphere 强大的可观测性功能,让你的云原生环境尽在掌握。
免责声明:
- 笔者水平有限,尽管经过多次验证和检查,尽力确保内容的准确性,但仍可能存在疏漏之处。敬请业界专家大佬不吝指教。
- 本文所述内容仅通过实战环境验证测试,读者可学习、借鉴,但严禁直接用于生产环境 。由此引发的任何问题,作者概不负责!
本文由博客一文多发平台 OpenWrite 发布!
</div>

