1 简介
最近这一段时间在学习机器学习,也尝试将一个SkLearn的模型部署到了PocketBeagle 2 上(感谢论坛提供的试用机会),发现效果是真的不错。所以我就在想有没有什么便捷的方式能够将一个简单的模型部署到单片机上来实现某种行为的边缘计算。于是经过我的搜索后找到了一个ESP32 的基于Tensorfl ow lite 的库。如下图所示。
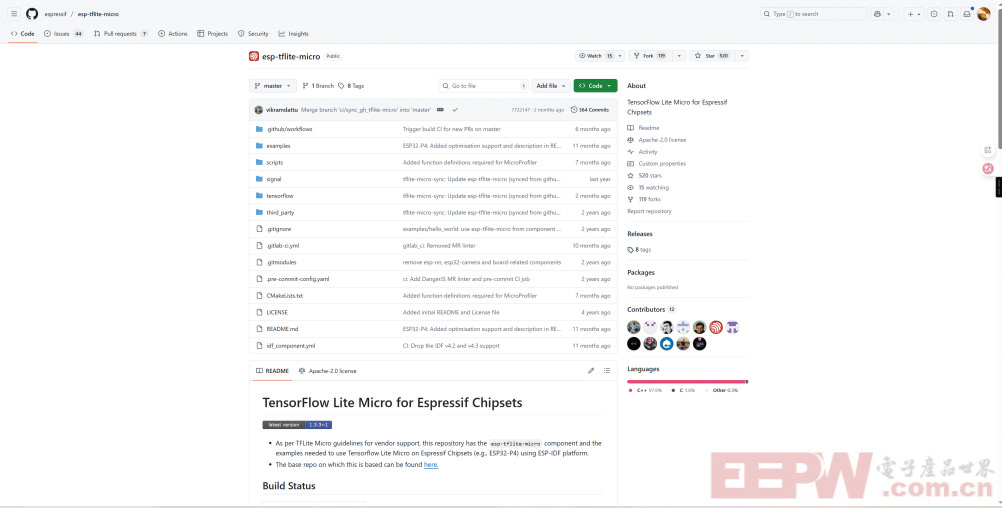
上述的这个库是基于TF官方的TF-lite进行ESP32-S3的适配。所以对应TF官方的介绍如下图所示。
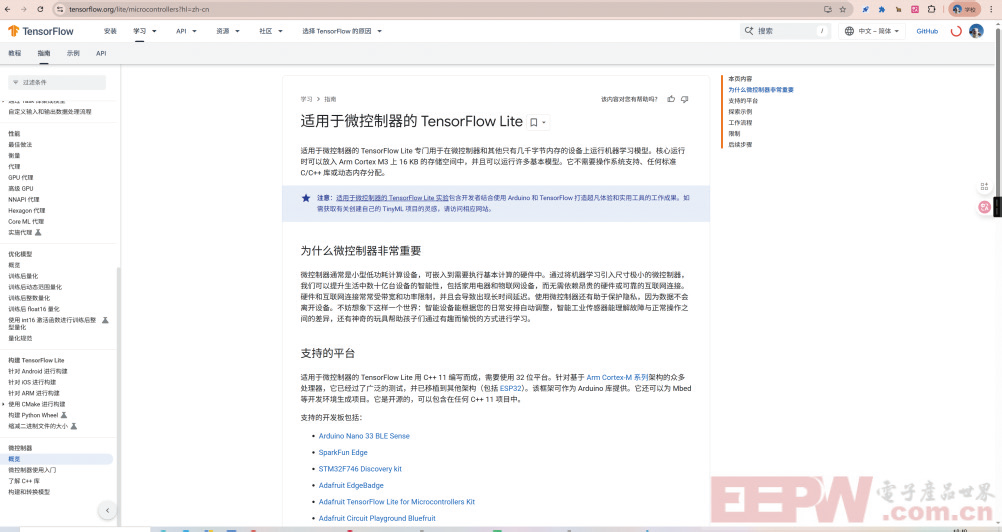
至此逻辑关系已经被整理清楚了,TFlite是针对资源受限的Machine Learing库,而乐鑫的esp-tfl ite-micro是TFlite对ESP32设备的一个具体实现。
那么在本篇文章中将带着大家从零开始进行Demo的烧录(测试意图)、模型训练,转换成C 语言数组。然后到模型的部署,最终实现和模型一样的效果。阅读这篇文章你最好具备一些基础的Machine learning和Deep learning知识。
2 Hello World Demo烧录
1-首先,你本地已经安装好了IDF 的环境,你只需要在任意一个IDF 的项目目录下执行下述命令来添加esp-tfl ite-micro的依赖
view plaincopy to clipboardprint?
1.idf.py add-dependency “esp-tfl ite-micro”
2-基于现在的项目新建Helloworld 的项目
view plaincopy to clipboardprint?
1. idf.py create-project-from-example “esp-tflitemicro:hello_world”
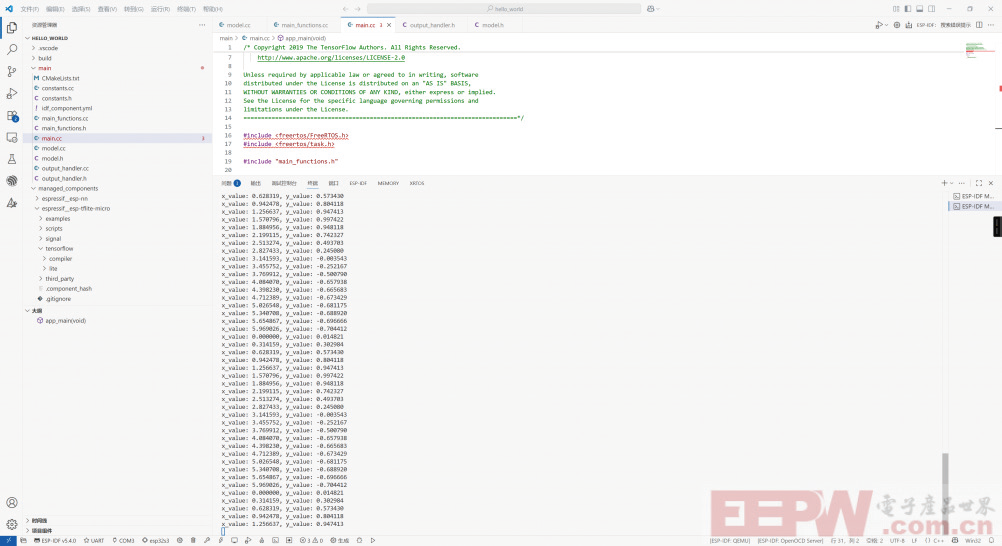
之后便可以对当前的demo 进行烧录了。当然重点不在这里。下述截图为实际Demo 的实际运行效果:
3 训练模型
对于模型的训练,我这里环境依赖是被Anaconda进行管理的,使用的是TF 的完整版进行训练。Demo的HelloWorld 训练代码来自于TFlite,可以在HelloWorldDemo中的readme中找到对应的链接。我们对其进行少量的修改使其可以直接在Jupyter notebook 中运行。即Python代码。移除外部参数传递。
下面是代码的核心步骤:
view plaincopy to clipboardprint?
1. def get_data():
2. “””
3. Generate a set of random `x` values and calculate their sine values.
4. “””
5. x_values = np.random.uniform(low=0, high=2 *math.pi, size=1000).astype(np.fl oat32)
6. np.random.shuffl e(x_values)
7. y_values = np.sin(x_values).astype(np.fl oat32)
8. return (x_values, y_values)
首先生成随机的正选随机数,进行打乱,然后返回总体的X 和Y 向量。
view plaincopy to clipboardprint?
1. def create_model() -> tf.keras.Model:
2. model = tf.keras.Sequential([
3. tf.keras.Input(shape=(1,)),
4. tf.keras.layers.Dense(16, activation=”relu”),
5. tf.keras.layers.Dense(16, activation=”relu”),
6. tf.keras.layers.Dense(1)
7. ])
8. model.compile(optimizer=”adam”, loss=”mse”, metrics=[“mae”])
9.return model
模型采用的是一个三层的神经网络,输入1,输出
1.其中两层每层一共16 个神经元用来学习特征。
view plaincopy to clipboardprint?
1. def main():
2. x_values, y_values = get_data()
3. trained_model = train_model(EPOCHS, x_values, y_values)
4.
5. # Convert and save the model to .tfl ite
6. tflite_model = convert_tflite_model(trained_model)
7. save_tfl ite_model(tfl ite_model, SAVE_DIR,model_name=”hello_world_fl oat.tfl ite”)
然后对模型进行训练,同时转换成tfl ite 的格式。
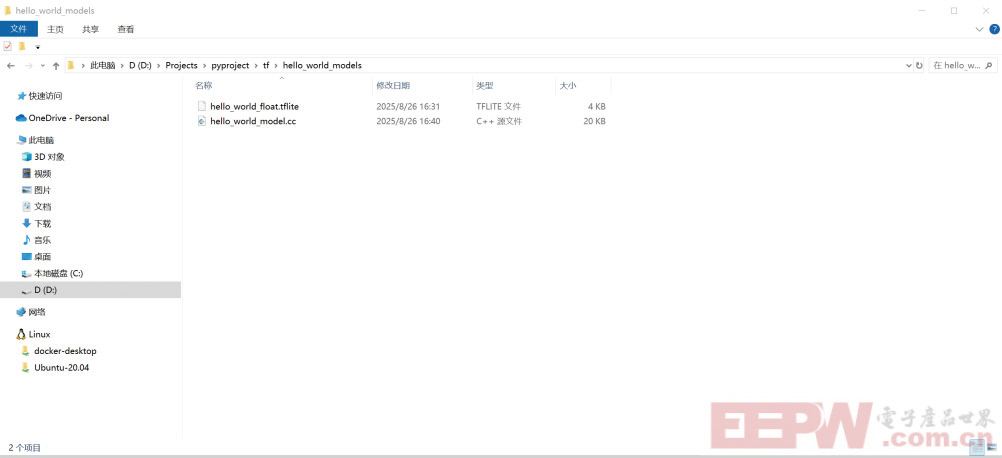
之后使用xxd将这个tfl ite的模型抓换成C 语言的数组。
view plaincopy to clipboardprint?
1.xxd -i hello_world_int8.tfl ite > hello_world_model_data.cc
至此模型的训练和转换已经完成了。
4 部署模型
对于模型的部署,HelloWorld 给了我们一个很好的示例。我们只需要把我们转换成CC 文件中的c 语言数组拷贝到Model.CC文件中即可。
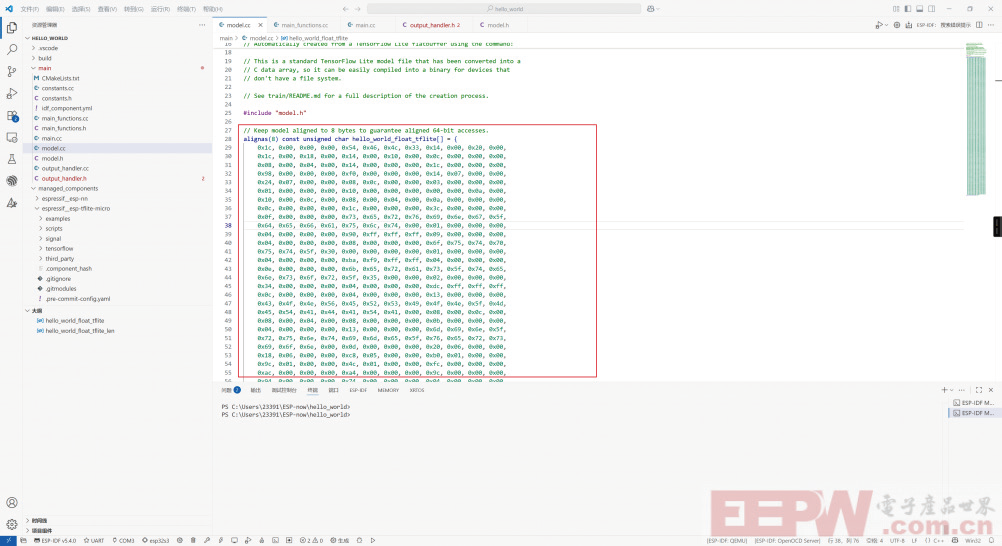
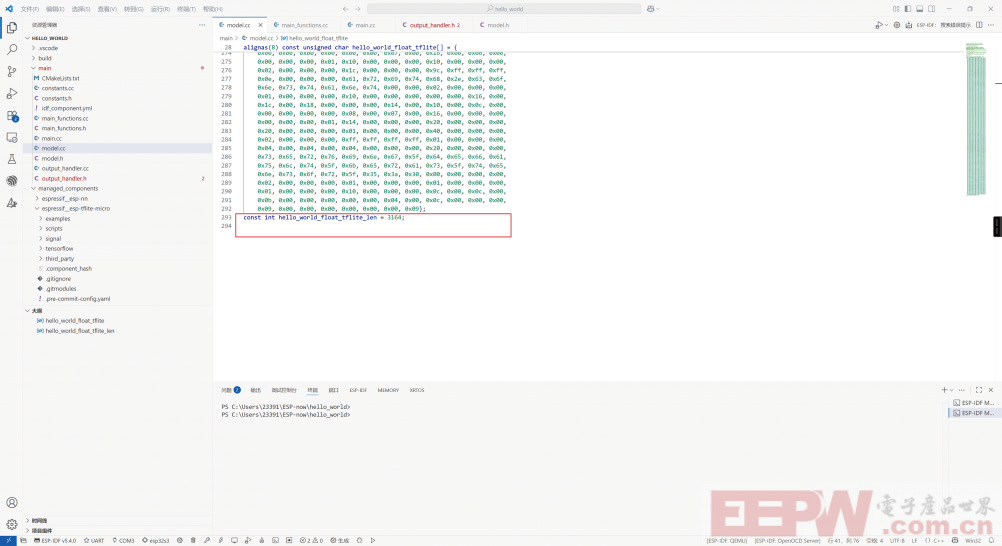
注意,并不能全拷贝,只拷贝数组部分即可。和下方的数组长度。
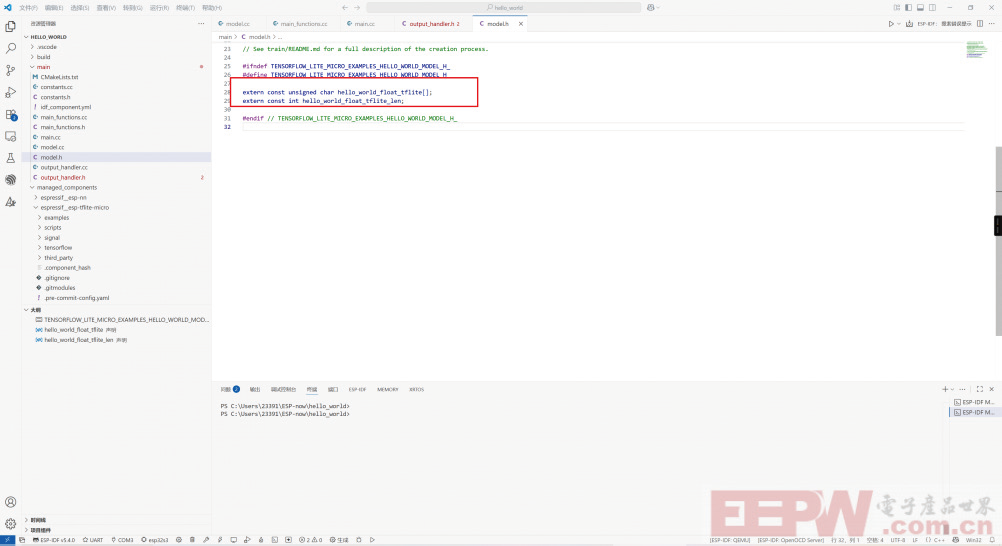
注意数组的类型,不要全拷贝。然后修改Model内extern暴露的数组名称和模型数组名称一致。
然后修改SetUpfunction中的数组名称为模型的名称。
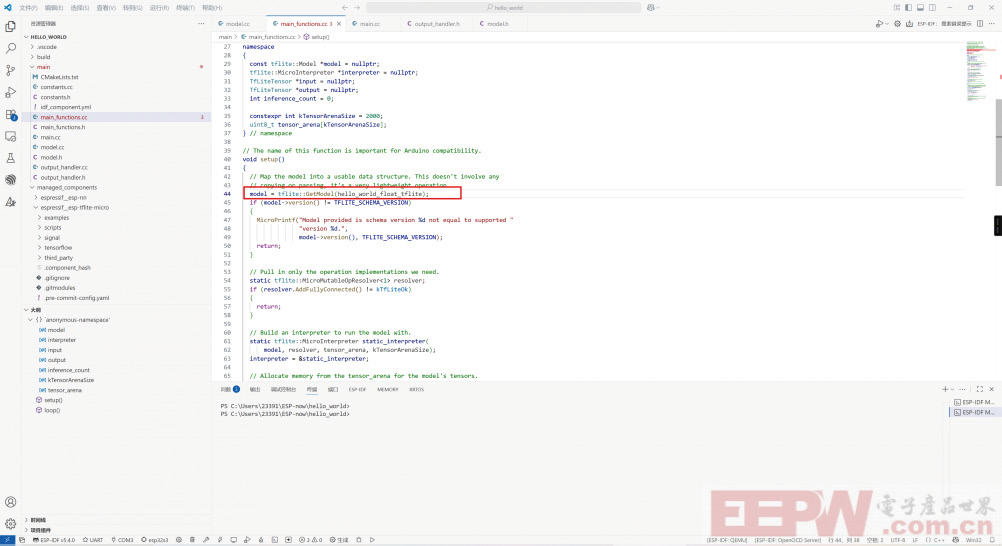
由于我们训练的模型没有进行量化,所以直接使用未经量化的fl oat类型即可。将代码修改成下述代码。
使用了Float 类型进行输入和输出:
view plaincopy to clipboardprint?
1. // The name of this function is important for Arduino compatibility.
2. void loop()
3. {
4. // Calculate an x value to feed into the model. We compare the current
5. // inference_count to the number of inferences per cycle to determine
6. // our position within the range of possible x values the model was
7. // trained on, and use this to calculate a value.
8. fl oat position = static_cast
9. static_cast
10. fl oat x = position * kXrange;
11.
12. input->data.f[0] = x;
13.
14. // Run inference, and report any error
15. TfLiteStatus invoke_status = interpreter->Invoke();
16. if (invoke_status != kTfLiteOk)
17. {
18. MicroPrintf(“Invoke failed on x: %fn”,
19. static_cast
20. return;
21. }
22.
23. fl oat y = output->data.f[0];
24.
25. // Output the results. A custom HandleOutput function can be implemented
26. // for each supported hardware target.
27. HandleOutput(x, y);
28.
29. // Increment the inference_counter, and reset it
if we have reached
30. // the total number per cycle
31. inference_count += 1;
32. if (inference_count >= kInferencesPerCycle)
33. inference_count = 0;
34. }
需要注意的是,如果你的模型进行过量化,那就根据对应的量化参数进行传递。否则模型精度将会很低。
5 实验效果
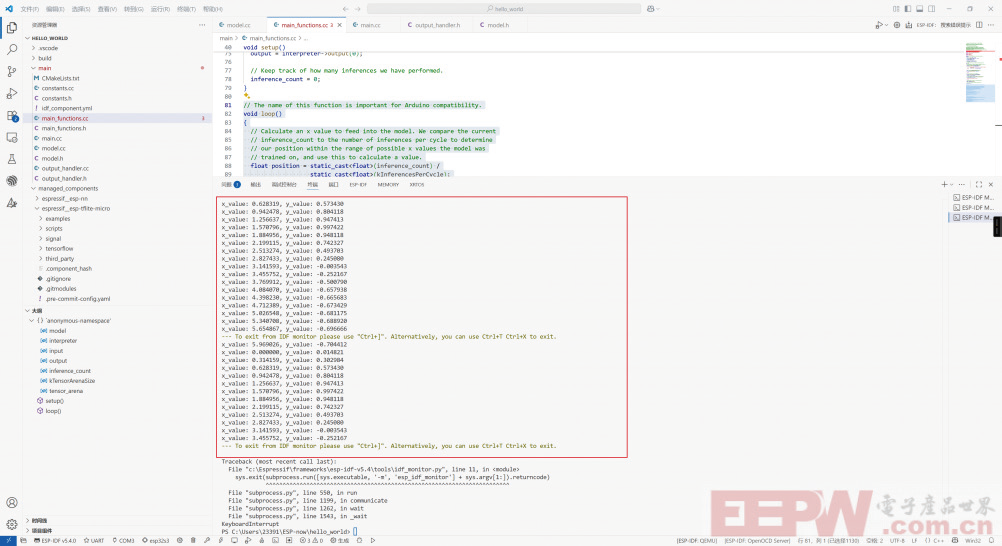
模型的X 输入和Y 输出。满足预期。
<!-- 非定向300*250按钮 17/09 wenjing begin --> <!-- 非定向300*250按钮 end -->
</div>

